I’ve been searching for a file-level backup solution that ticks all the boxes, specifically:
- Efficient - something that only copies differential data when performing backups
- Secure - Encryption of data at rest and in-flight
- Deduplication - Only store blocks of data once and use pointers to reference it
- Storage Provider Support - Ideally NFS out of the box or even rsync, but hey if it supports the typical cloud providers too that’s a bonus
- Trustworthy - Ideally free and open so that I can audit the source
- Easy - I don’t want to invest an hour learning how to use it at scale
- Ideally free
Man, let me tell you - there are not a lot of options out there that meet all these requirements - but I stumbled upon restic, and it seems to be the best option I’ve come across.
Restic configuration guide with BackBlaze Cloud Storage
Let’s walk through setting up restic to back up to BackBlaze cloud storage. Backblaze is a super cheap and well-run storage provider, and they provide excellent service. They’ve been brilliant in optimizing their storage platform, both hardware, and software to allow scaling up, and I’d highly recommend them.
In this example, let’s pretend we want to back up the folder named /data to BackBlaze B2 cloud storage.
Setup BackBlaze B2 Cloud Storage
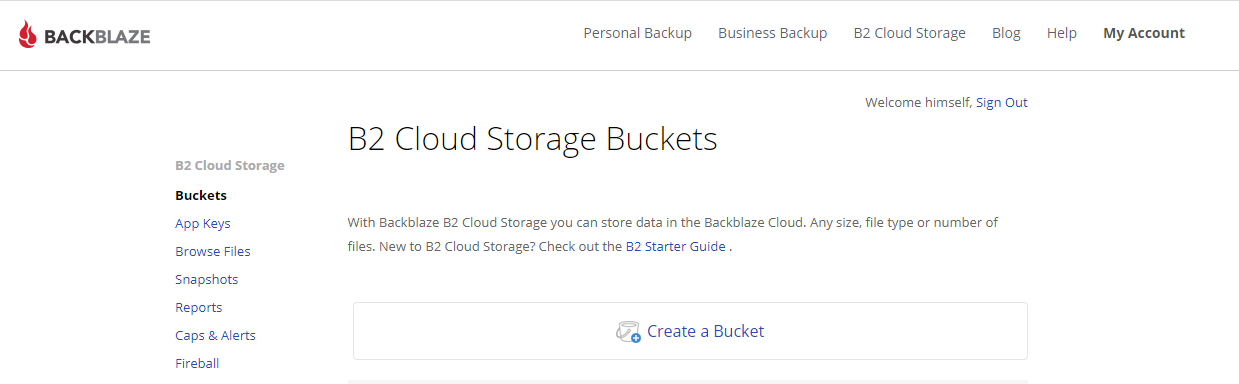
First thing, sign up for an account for B2 storage if you haven’t already.
Next, create a new B2 bucket. A bucket is just a location on B2 storage to put files. It would be best if you dedicated this bucket to your restic backups and not stored other files in it. Name it whatever you want, but make a note of what it’s named as it’ll be needed later on. Make sure the files in the bucket are private unless you want your backups potentially exposed to the internet (probably not).
After that, go to App Keys in the left menu and then generate a new application key with read and write permissions, ensuring it’s allowed access to the bucket you just created. Make a note of the Key ID (also known as accountID) and the applicationKey (also known as accountKey).
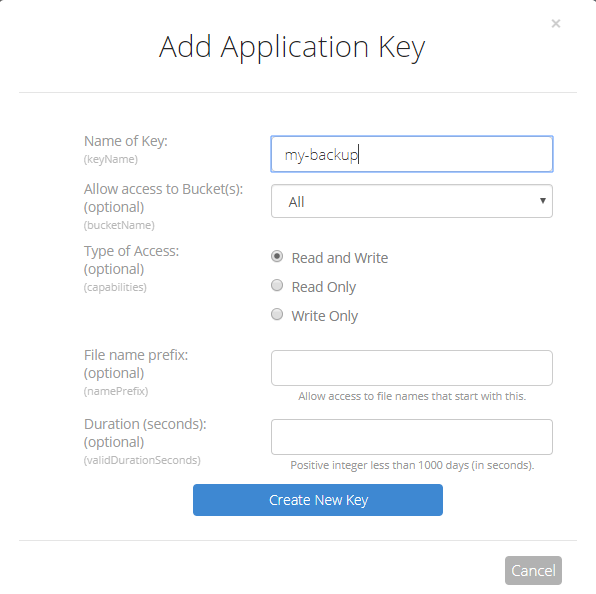
By now, you should have the following noted down before you proceed:
- Bucket name
- AccountID
- AccountKey
If you’ve got these, you can close the Backblaze website for the rest of this setup.
Install Restic
Download the latest release from GitHub page: https://github.com/restic/restic/
# Modify this URL for the latest restic version
wget https://github.com/restic/restic/releases/download/v0.9.6/restic_0.9.6_linux_amd64.bz2

bzip2 -d restic*.bz2
sudo mv restic*amd64 /usr/local/bin/restic
sudo chmod +x /usr/local/bin/restic

restic version
Validate that the version shows correctly from the shell script above.
Configure Restic Repository
Next, we want to create an encryption password for our repository, as restic will encrypt the data before storing it in B2 cloud storage, so not even B2 staff could ever possibly access your data in any way. This password is also needed to restore data or interact with the restic repository in any way - so make sure you can recover it in a disaster scenario.
Create a file called ~/.restic-pw and populate a single line with your encryption key. It can be as long as you want it to be. Then ensure to set the correct security on the file, or else it won’t work.
chmod 600 ~/.restic-pw
Next, we’ll set up your profile environment variables for restic.
Profile Setup
We’ll need to set up the following variables:
# DO NOT COPY THIS, THIS IS EXAMPLE OUTPUT.  COPY YOUR OWN OUTPUT!
export B2_ACCOUNT_ID="XXXXXXXXXXXXXXXXXXXXXXX"
export B2_ACCOUNT_KEY="XXXXXXXXXXXXXXXXXXXXXXX"
export RESTIC_REPOSITORY="b2:BUCKETNAME"
export RESTIC_PASSWORD_FILE="~/.restic-pw"
We’ll add them to our ~/.profile file and then reload the .profile
# Append the export lines above to the end of .profile
vim ~/.profile

# Reload your profile to apply the new variables now
source ~/.profile
Initialize new restic repository
If this is a first-time setup, we’ll first need to initialize a new restic repository. If you’ve already initialized a repository and you’re setting this up again or preparing for a restore, do not initialize a new repository over top of the old one, skip this section.
# initialize new restic repository
restic init
Validate that in the output, it mentions that a new repository was created and ensure that no indication of failure occurred.
Perform a Backup
Let’s say the data we want to backup is in /data. To back this up, all we do is:
# Perform a backup of the /data directory
restic backup /data
So easy, right?
List Snapshots
If we want to get a list of backups that exist in the repository and see what snapshots we have available, all we do is:
# List snapshots available in restic repository
restic snapshots
The command above lists the following information:
- Snapshot ID - useful for referencing the snapshot (see Restore Process below for example)
- Snapshot Time - indicates the date of the snapshot
- Host - the hostname of the machine that the snapshot was taken from
- Tags - If the snapshot is tagged with anything. We don’t go over tags in this guide, but if you’re curious, check out Manage Tags in the restic documentation
- Paths - a list of directories which were backed up in the snapshot
Restore Process
- restic must be installed and configured as noted above
Note the ID for the snapshot you wish to restore (see List Snapshots section above), then restore it.
# Ensure the target directory exists first
mkdir /data

# The data folder is inside the snapshot, so we restore to /
restic restore <SnapshotID> --target /
With any luck, /data should have been recovered.
Retention Policy
Applying retention policy is so easy that I’m just going to provide the command below. To keep at a snapshot from each day for the past 30 days, a snapshot of each week for the past 12 weeks and a snapshot from each month for the past 12 months, complete the following command:
# Remove old snapshots but keep at least this many
restic forget --keep-daily 30 --keep-weekly 12 --keep-monthly 12